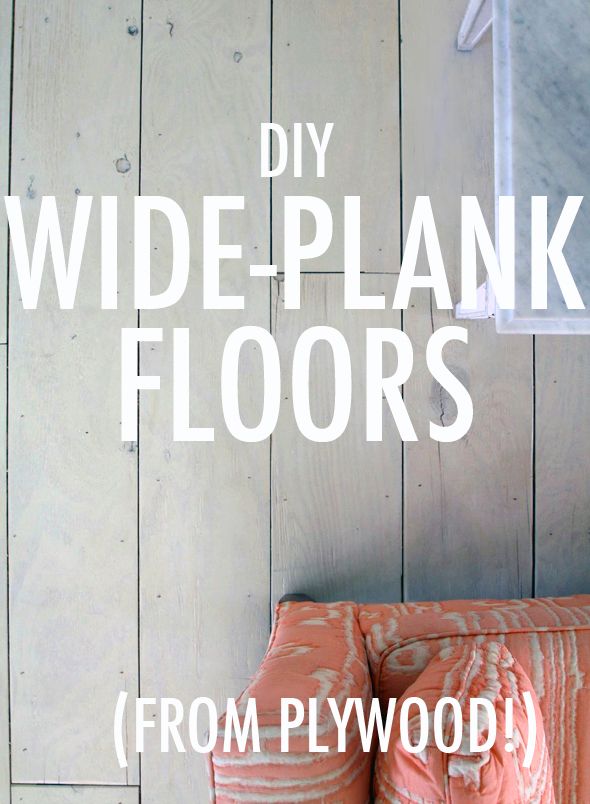
We desperately needed a new floor outside our pokey toilet and in Poppy's little bedroom. The main flooring in our living area is Jarrah planking but not being from Australia originally, I just don't have the sentimental attachment to the deep red hues as some do!
I am much more a fan of a lighter, softer, oak-like shade. I had seen a few DIYers laying ply-plank floors and wondered whether this might be an option for us too? Fast, cheap, easy.....
Little Green Notebook
A fire pole in the dining room
Shabby Creek Cottage
So I pulled up the nasty lino which lay on the area and the old pink carpet that was in Poppy's room.
And took a visit to Bunnings to pick up some sheets of ply. Its a really good looking wood you know folks, very modern and clean and used in more places than you might imagine.
From this....
To these...hmm, tempted yet??
Lush Home
Houzz
Apartment Therapy
After buying the plywood, my builder to cut it into approximately 6 equal widths, to create a really chunky, wide-board effect.
Then he laid it down using a nail gun and glue to fix, a huge improvement immediately!
I knew my preferred white wash finish wasn't right for us in this high traffic area of our small home, with small people, so I went with a water based walnut stain all-over.
Knowing this would be too dark for the finished look, I let it dry and then mixed up 1/3 of paint to water using Coco Chalk Paint™ by Annie Sloan.
Knowing this would be too dark for the finished look, I let it dry and then mixed up 1/3 of paint to water using Coco Chalk Paint™ by Annie Sloan.
This gave me a lovely rich, milky-coffee-with-grey-tones kind of colour (!!) which sank into the dark wood beautifully.
I then sealed the floors with a water based sealant and left it to cure for 2 days.
I'm really pleased with how the floors have come up. For a little bit of sweat, cash and time, I think they look great and they suit their purpose in our home perfectly right now.
I have a little more work to do on skirting and walls, so I will post some pictures of the finished rooms in a few days :)


In present time the craze of wooden flooring is on peak rather then other and your useful info makes so interactive.
ReplyDeleteHow much was it per square foot approximately?
ReplyDeleteThat is an amazing look. The floors at our place are a little dark for my liking. I wonder if I can fix it like this. I will have to look into it but I would love to give it a try. Thanks for sharing the step by step. I love to learn how to do new things at home.
ReplyDeleteMaxwell Frey @ Design Build Duluth
Maxwell, if your floor has any kind of protective sealant or top-coat over the stained wood, a white-wash won't penetrate the wood or combine with the stain to make a smooth, even color. You may have to sand the top-coat off in order to get such an effect.
DeleteDid you use the paint water as a stain (put it on let sit for a 10 minutes then wipe off) or did you use it as paint (paint it on and leave it)?
ReplyDeletePainted it on and let it dry- thanks :)
DeleteI was wondering the same thing- did you dry brush teh chalk paint/water mix, or just paint and let it soak in.
ReplyDeleteLooks great! Can I ask what walnut stain you used?
Thanks!
Sorry! Life got busy! Yes just let it soak in and then seal :)
Deletewhat brand and stain color did you use?
DeleteHow is it holding up 3 years later?
ReplyDeleteIt's still holding up great guys! I have rugs scattered to take some of the heavy load - there are some scratchy marks around my daughters iron bed legs etc but generally it still looks beautiful :)
ReplyDelete